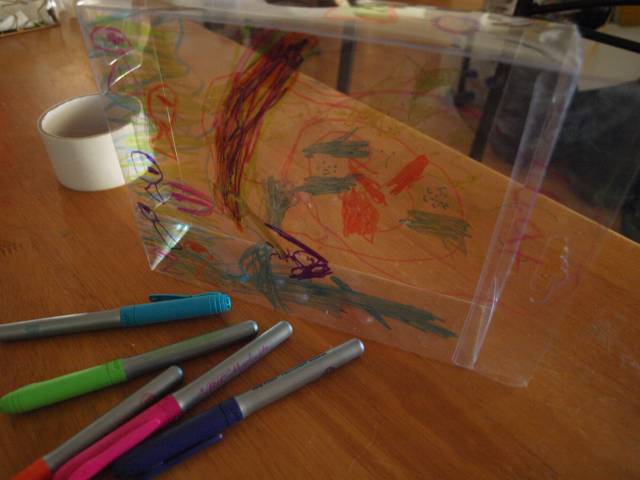
What: a two-layer picture on a clear plastic box, stuck to a window or screen door.

How: I had some clear plastic packets from some gift or other. We took permanent markers and drew on each side of the packet. The pictures layer against each other when seen through the box. Kid 6 could see how this worked when done but couldn’t imagine it beforehand, Kid 4 was oblivious to the idea of planning anything, and I myself didn’t spot how it would work until the first time we held it up to the light while drawing – I’d just been looking for something to draw on that wasn’t paper to keep them distracted on a hot holiday afternoon. We did need to work to get colour patches broad enough – thin lines weren’t very visible. Once it was “done”, I taped the hang-fold to a screen door so we could see it lit up by the sunlight outside. (This turned out to be impossible to photograph.)
Extras: Next time I may go for wider-tip markers to make that bit easier, and I’ll make more of a point (at least with the older child/ren) of thinking and talking about what parts of the picture are background and what are foreground. We can also talk about flipping an image, seeing as when you turn the box around you’re drawing the foreground against a reversed background or vice-versa. This project gives the potential to look at colour combining / transmission – e.g. seeing red through green or orange through yellow. You could also insert another piece of plastic inside the box to get a three-layer picture if you wanted to be really complicated. A related activity would be to try something similar but with shadows and varying degrees of translucency, so layers of tissue paper and card and similar, but that’s starting to get a bit past the age where my kids are now.
